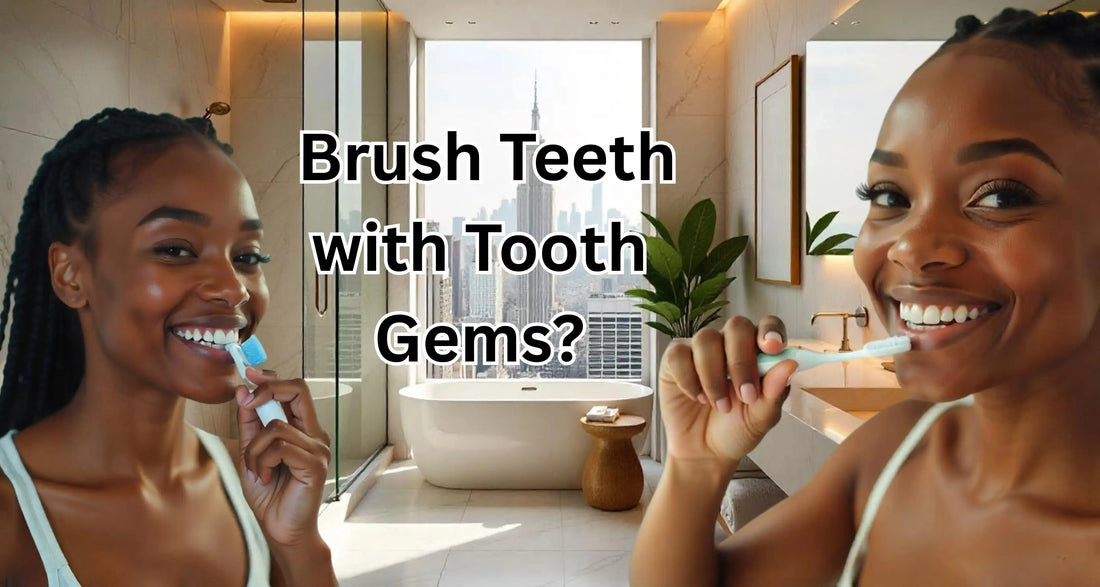
How I Brush My Teeth with Tooth Gems?
Share
Introduction
Getting tooth gems changed my entire oral care routine.
What started as a fun way to add sparkle to my smile quickly became a learning experience about protecting both my teeth and my investment.
After six months of trial and error, I've perfected a brushing technique that keeps my gems secure while maintaining excellent oral health.
This guide shares every lesson I learned, every mistake I made, and the exact routine that works.
Chapter 1: Why Special Care is Needed
How Tooth Gems Affect Your Oral Hygiene Routine
The moment I got my first tooth gem, I realized my regular brushing wouldn't cut it anymore. The adhesive creates small edges where plaque loves to hide.
Food particles get trapped easier, and aggressive brushing can loosen the gems.
I learned this the hard way when my first gem fell out after just three days of normal brushing. The dental adhesive is strong, but it's not indestructible against daily wear and harsh bristles.
Shop Now: Professional Tooth Gem Kit – Get a Salon-Quality Smile at Home in Minutes!
Common Concerns and Misconceptions
Many people think tooth gems make proper cleaning impossible. That's not true. With the right technique, you can maintain better oral hygiene than before because you become more mindful of every brush stroke.
The real challenge isn't cleaning around gems – it's breaking old habits. I had to retrain myself to brush gently and methodically instead of rushing through my routine.
The Importance of Maintaining Healthy Teeth Underneath
Tooth gems don't protect the enamel underneath. If anything, they create a spot where bacteria can accumulate if you're not careful. This makes thorough, gentle cleaning even more critical than before.
Chapter 2: My Pre-Brushing Routine
Inspection and Assessment
Before every brushing session, I spend 30 seconds checking each gem. I look for:
- Loose edges that might catch the toothbrush
- Discoloration around the adhesive
- Any movement when I gently touch the gem
This quick check prevents accidents and helps me adjust my technique for problem areas.
Identifying Any Loose or Damaged Gems
A loose gem feels different when you run your tongue over it. There's usually a slight edge or movement that wasn't there before. I mark these spots mentally so I can be extra gentle during brushing.
When to Be Extra Cautious
First thing in the morning, the adhesive is slightly softer from overnight saliva exposure. I always brush more gently in the morning and save thorough cleaning for evening when everything has had time to set firmly.
Preparing for Gentle Care
I take three deep breaths before brushing. This sounds silly, but it helps me slow down and focus. Rushed brushing is the enemy of tooth gems.
Read this: Don't Let Your Tooth Gems Fall Off Again
Chapter 3: The Right Tools for the Job
Toothbrush Selection
After trying five different toothbrushes, I settled on an extra-soft bristle manual brush. The key features that work best:
- Bristles that bend easily under pressure
- Compact head for precise control
- Comfortable grip for steady hand movements
Why I Switched to a Soft-Bristled Toothbrush
My original medium-bristle brush felt like sandpaper around the gems. Soft bristles clean just as effectively but won't stress the adhesive bond. I noticed my gems lasting twice as long after making this switch.
Electric vs. Manual Brushes with Tooth Gems
I tried an electric toothbrush for two weeks. While it cleaned well, the vibrations made me nervous around the gems. Manual brushes give you complete control over pressure and angle – essential for gem care.
Toothbrush Head Size Considerations
Small heads work better than large ones. You need precision to clean around each gem without applying unnecessary pressure to adjacent areas. My current brush head is about half the size of my old one.
Toothpaste Choices
Regular toothpaste contains abrasives that can cloud gems over time. I switched to a gel formula with low abrasivity. The difference in gem clarity after three months was noticeable.
Non-Abrasive Toothpaste Options
I use a fluoride gel toothpaste specifically designed for sensitive teeth. It cleans effectively without the harsh particles found in whitening toothpastes. The gel consistency also helps it flow around gems better than paste.
Ingredients to Avoid with Tooth Gems
Stay away from:
- Whitening agents (they can affect gem adhesive)
- Baking soda formulas (too abrasive)
- Tartar control toothpastes (often contain harsh chemicals)
Read Also: DIY Tooth Gem Kit: Easy Steps to apply
Chapter 4: My Step-by-Step Brushing Technique
The Gentle Approach Method
My technique focuses on patience over pressure. Here's my exact routine:
- Rinse mouth with plain water
- Apply pea-sized amount of gel toothpaste
- Start with non-gem teeth using normal technique
- Switch to ultra-gentle mode for gem areas
- Finish with thorough rinsing
Starting Position and Angle
I hold the brush at a 45-degree angle to the gum line, just like normal brushing. The difference is the pressure, barely enough to bend the bristles.
Pressure Control Techniques
I practiced pressure control by brushing a ripe tomato without breaking the skin. This taught me exactly how light my touch needed to be around gems.
Movement Patterns around Gems
Instead of scrubbing, I use tiny circular motions around each gem. I imagine I'm polishing delicate jewelry, not scrubbing a dirty surface.
Brushing Around the Gems
Careful Circular Motions
I make 10-15 small circles around each gem, moving the brush in different directions to ensure complete cleaning. The key is consistency – same pattern every time.
Avoiding Direct Pressure on Gems
Never brush directly on top of a gem. Instead, clean around the edges where plaque actually accumulates. The gem surface stays clean on its own.
Cleaning the Gem-Tooth Interface
The junction where gem meets the tooth needs special attention. I use the very tips of the bristles to gently clean this area with horizontal strokes.
Cleaning the Rest of My Teeth
Maintaining Normal Brushing for Non-Gem Teeth
I brush my other teeth normally, which helps me finish the routine quickly. This prevents me from getting impatient and rushing through the gem areas.
Balancing Thorough Cleaning with Gem Protection
The key is switching between normal and gentle pressure as needed. I treat it like driving – adjusting speed for different road conditions.
Get the knowledge now: What Is a Wax Pen & How to Use It for Tooth Gems
Time Allocation for Different Areas
- Regular teeth: 60 seconds
- Gem areas: 90 seconds
- Final rinse and check: 30 seconds
Total brushing time increased from 2 minutes to 3 minutes, but the results are worth it.
Problem-Solving Common Issues
Dealing with Food Particles Around Gems
Trapped food particles are common after eating. I use a water flosser on low setting to remove debris without mechanical brushing that could loosen gems.
Managing Plaque Buildup
Plaque forms faster around gems due to the irregular surface. I combat this with more frequent brushing (after every meal) using my gentle technique.
Addressing Sensitivity
Some people experience sensitivity around new gems. I use desensitizing toothpaste for the first week after gem application, then switch to my regular gentle formula.
Chapter 5: What I've Learned about Timing
Optimal Brushing Schedule
I brush three times daily instead of twice:
- Morning: Gentle cleaning to remove overnight buildup
- After lunch: Quick maintenance brush
- Evening: Thorough cleaning session
How Often I Brush with Tooth Gems
Timing Around Meals
I wait 30 minutes after eating before brushing. This gives saliva time to neutralize acids and prevents brushing away softened enamel.
Night Routine Adjustments
My evening routine is most thorough. I have more time and patience, and the gems are most secure after a full day of setting.
Chapter 6: Flossing with Tooth Gems
Modified Flossing Technique
Flossing around gems requires a completely different approach. Instead of snapping floss between teeth, I thread it gently and use horizontal motions.
Approaching Gem Areas Carefully
I guide floss around gems slowly, feeling for any resistance. If the floss catches, I stop and reposition rather than forcing it.
Types of Floss That Work Best
Waxed floss glides smoothly around gems. Unwaxed floss tends to catch on adhesive edges. I also prefer thinner floss for better maneuverability.
Areas That Need Extra Attention
The spaces next to gems collect more debris than normal interdental spaces. I spend extra time cleaning these areas with gentle back-and-forth motions.
Chapter 7: Maintaining Gem Longevity
Habits That Preserve Gems
Beyond brushing technique, several habits help gems last longer:
- Avoiding hard foods that could jar gems loose
- Not using teeth as tools
- Wearing a night guard if I grind my teeth
- Staying hydrated to maintain healthy saliva flow
Brushing Techniques That Extend Gem Life
The gentler my brushing, the longer my gems last. I track each gem's lifespan and noticed dramatic improvements after perfecting my technique.
Chapter 8: When Gems Need Attention
Recognizing Loose Gems
A loose gem feels different immediately. There's usually a subtle change in texture or a slight edge that wasn't there before. I catch most problems early through daily inspection.
Emergency Care Techniques
If a gem becomes loose during brushing:
- Stop brushing immediately
- Rinse gently with plain water
- Avoid the area until I can see a professional
- Don't try to push it back in place
Professional Maintenance
I visit my dental hygienist every three months for professional cleaning around gems. They have specialized tools and techniques for thorough cleaning without gem damage.
Chapter 9: Common Mistakes I Made (And How to Avoid Them)
Early Mistakes
My biggest early mistakes:
- Using my regular toothbrush (too aggressive)
- Brushing too soon after meals
- Not inspecting gems before brushing
- Rushing through the routine
Being Too Aggressive Initially
I lost three gems in my first month by treating them like normal teeth. Each loss taught me to be gentler and more patient.
Wrong Tool Choices
I wasted money on expensive electric toothbrushes and special "gem-safe" products. Simple, soft-bristled manual brushes work best.
Neglecting Certain Areas
I initially focused so much on gems that I neglected other teeth. This created new problems and defeated the purpose of good oral hygiene.
Chapter 10: Long-Term Oral Health Considerations
Monitoring Tooth Health
I photograph my gems monthly to track changes over time. This helps me identify problems early and adjust my technique if needed.
Regular Dental Checkups
My dentist checks for any issues around gems during regular cleanings. Professional monitoring catches problems I might miss.
Self-Assessment Techniques
I perform weekly detailed inspections using a dental mirror and good lighting. This helps me spot issues before they become serious problems.
Warning Signs to Watch For
Red flags that require immediate attention:
- Pain or sensitivity around gems
- Visible decay at gem edges
- Persistent bad breath despite good hygiene
- Swelling or irritation of surrounding gums
Balancing Aesthetics and Health
Prioritizing Oral Health
Gems are fun, but healthy teeth are essential. I never compromise oral health for aesthetics. If a gem causes problems, it comes off immediately.
Making Informed Decisions
I research every new gem thoroughly before application. Understanding the risks helps me make better choices about placement and care.
When to Remove Gems
I remove gems if:
- They cause persistent problems
- The adhesive shows signs of failure
- My oral health suffers despite good care
- I need dental work in that area
Chapter 11: Troubleshooting Guide
Common Problems and Solutions
Problem: Gem feels loose after brushing. Solution: Stop brushing that area immediately, rinse gently, and inspect carefully
Problem: Persistent plaque buildup around gems. Solution: Increase brushing frequency, use a water flosser, and check technique
Problem: Gem becomes cloudy over time. Solution: Switch to non-abrasive toothpaste, gentler brushing
Problem: Food consistently gets trapped around gems. Solution: Use a water flosser after meals, avoid sticky foods
Gem Becomes Loose During Brushing
This happens occasionally despite perfect technique. Don't panic:
- Stop brushing immediately
- Rinse with lukewarm water
- Avoid the area until professional help
- Don't attempt home repairs
Persistent Plaque Buildup
If plaque keeps forming despite good brushing:
- Increase brushing frequency
- Use interdental brushes
- Consider professional cleaning
- Evaluate your technique
Gum Irritation Issues
Irritated gums around gems usually indicate:
- Too much pressure during brushing
- Allergic reaction to adhesive
- Trapped debris causing infection
- Poor-fitting gem creating irritation
Cleaning Difficulties
If you can't clean effectively around gems:
- Reassess your tool selection
- Slow down your technique
- Consider professional guidance
- Practice on fake gems first
Emergency Situations
What to Do if a Gem Falls Off
- Save the gem (don't throw it away)
- Rinse the area gently
- Inspect for damage
- Contact your gem technician
- Don't attempt re-application yourself
Dealing with Pain or Discomfort
Pain around gems is not normal:
- Stop all brushing in that area
- Rinse with warm salt water
- Take over-the-counter pain relief
- See a dentist within 24 hours
When to Seek Professional Help
Contact a professional if:
- Pain persists more than 24 hours
- Signs of infection appear
- Multiple gems become loose
- You can't maintain proper hygiene
Bonus Section: FAQ
Q: How long should I brush around each gem?
A: 10-15 seconds per gem using gentle circular motions.
Q: Can I use mouthwash immediately after brushing?
A: Yes, alcohol-free mouthwash is safe and recommended.
Q: What if my gem changes color?
A: This usually indicates adhesive failure. See your technician for evaluation.
Q: How do I know if I'm brushing too hard?
A: If bristles bend significantly or gems feel loose, you're using too much pressure.
Q: Can I eat normally with tooth gems?
A: Yes, but avoid extremely hard or sticky foods that could dislodge gems.